Mantua, New Jersey
Original Site:
September 2004
E-mail: usav8or@yahoo.com
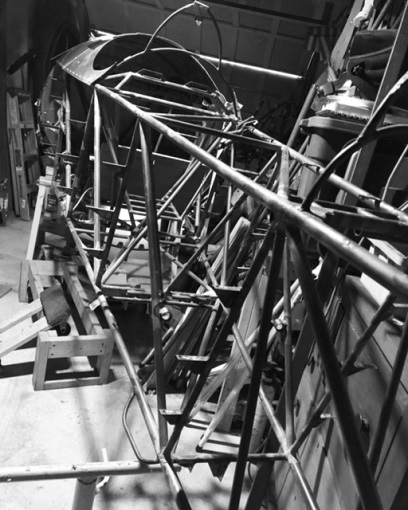
more work on the...Radial Fuselage.
January 29 - February 5, 2022
Its looking more and more...
like a little piggy (haha).
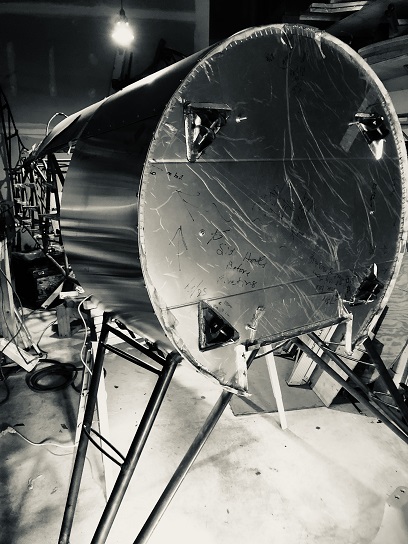
Feeling good.
Looking good.
Back to a semi-regular work schedule on the biplane. Getting work done during the day. No 1 1/2 hour drive to and from work. I'm able to stop work and then start working on Big ASS Bird for a while. Feels good to be making this progress... seeing that I'm getting things done in a resonable amount of time. It's all in the learning...
Going out to the biplane project thinking that I'm out here to work on the biplane.... with goals I need to acomplish, but no set time to get them completed by. If I have goals and need to accomplish them on this biplane, by a certain time, I'd be pressed to allow "good enough" to be "good enough"... and that AIN'T good enough. The "working towards excellence" has its own time, of which I'm happy with.
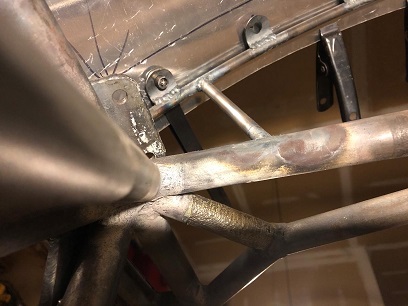
I'm back working on the firewall. Needed to reinforce the top dead center of its frame to keep it from twisting (the area where the two ends of the "L" shaped aluminum making up the frame meet). I did this by both glueing on with T-88 and riveting a reinforcing plate made out of aluminum. Taking a few days to drill and counter sink the rivet holes after glueing it on. Happy with the results. No more chance of it folding in half because of no support top dead center.
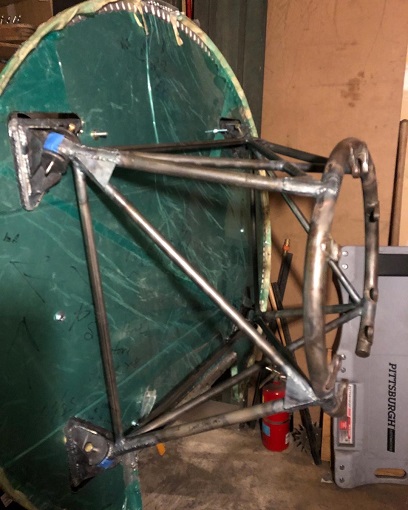
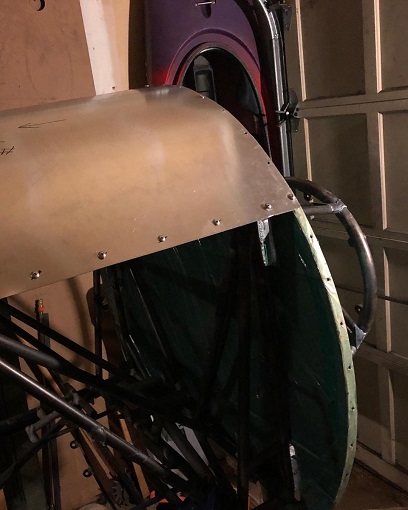
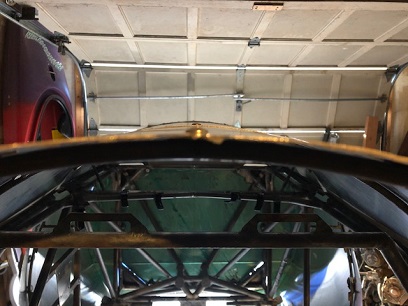
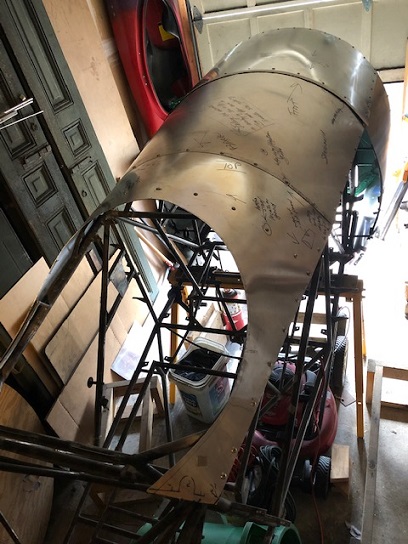
Getting things set-up and completed in order to start creating the engine cowling and all associated sheet metal for it. The firewall is back on at Station Zero. I've attached the engine mount. And I've started to reattach the aluminum sheet metal skin that I had work on oh so many years ago. Unsure if I'll be entirely happy with this round of skin patterns. If so, I'll move on to starting to fit up the first round of skin for the cowling. If I'm not happy with them, I'll make another set of sheet metal skins and THEN move onto the engine cowl.
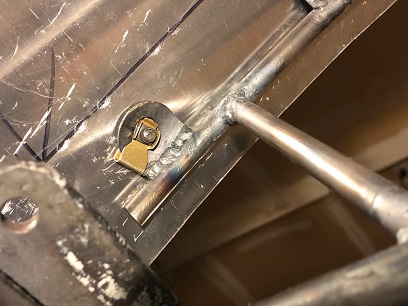
As I start to reattach these existing skins I see where I never match-drilled the holes in the front two upper skins that would attach the skins to the upper formers. Now... the former tabs have a 3/8inch hole to accept a floating anchor nut. My hole alignment tool is for a #40 drill bit... so I needed to make a bushing that would center that #40 bit over a 3/8inch hole of which I would then enlarge to the correct size hole to accept a 10-32 machine screw. I've made that bushing. Attached it to the alignment tool... and have drilled the first hole. BaBAM!
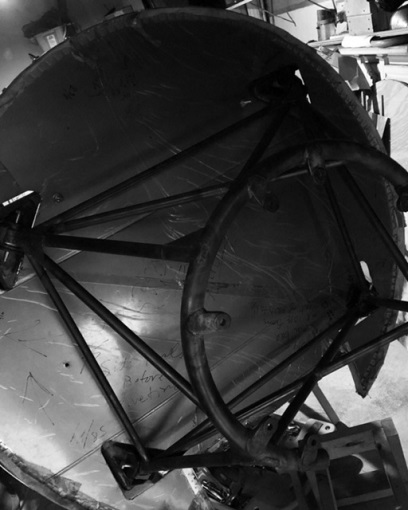
This little piggy...
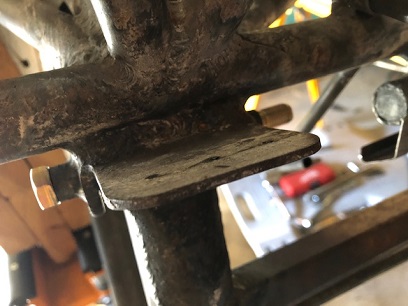
Bushing for centering tool.
Centering tool doing its magic.
10-32 maching screw attached to
floating anchor nut plate.
February 6 - 12, 2022
Giving away the biplane...
NOT BIG ASS BIRD!.
More "plastic surgery" on BIG ASS BIRD!
Continued working on the sheet metal skin. As you kow. It's a second fitting up of the skin. Getting ready for making the cowling for the Jake.
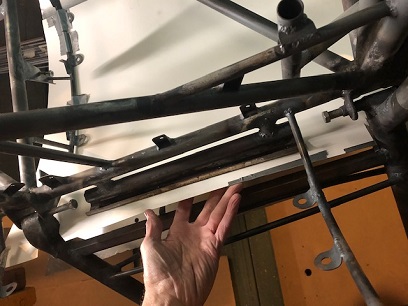
I have everything on except the 1-piece belly skin. I either need to buy more floating anchor nut plates, or find the additional one I have. I'm about 20 nut plates short. I most likely have them... it's just a matter of where I've placed them. I'm pretty good at storing things in places that I know where to look for them. So... manybe I am short those 20...
That bushing for the center tool needs some modifications... I'll need to make one because as you can see in that photo of it posted above, there is a lip between the bushing and the tool. That lip allows the shet metal to slide underneath and renders the tool pretty much useless for centering on a 3/8inch hole. So... all that work of "centering" those holes on the top, forward upper skin didn't go as planned. The holes were off center so I needed to enlarge them making it worthless as a drill pattern for the next upper skin, but it allow me to attach the skin to the fuselage which is what I need... This allowed me to see if the adjustment of that upper former was correctly repositioned, and yes, it was.
Yesterday, Saturday the 12th, I climbed up into the cockpit to get a birds eye view of the upper skin from the pit. Looking nice... REALLY nice! Spent the rest of my time with the place working up a "need to do now" punch list. One of which is to make sure that I have all the necessary tabs and brackets attached to the frame. Out of a list of about 40, I need to make/attach about nine more.
I'm waiting on the wheels and brakes. I'll get those attached, and then hang the engine to start playing with the sheet metal to make the cowling. And... I called Scott Woods again to see when he can pick up his grandfather's Wood-Low Biplane. (It's been over two years since I said that I would give him the biplane for a set of Woody Pusher plans). I need the room to tuck the tail of the Skybolt further back into the garage so that I can hang the engine without the nose of it sticking outside.
Cockpit view
Climbing in the cockpit view.
February 13 - 19, 2022
Inching towards...
completion.
Every step forward is a step forward... but over the past few weeks, that process has been slow. Not in activity, but in seeing things move forward. We're not talking "kit" plane here... we're talking about a "hacksaw and file" build, scratch built.
No pulling pre-cut, pre-drilled sheet metal panel from a box and attaching to the pre-made firewall and already welded on formers. And that's the beauty of it. Making each and every piece to my excellence, which has its slight imperfections.
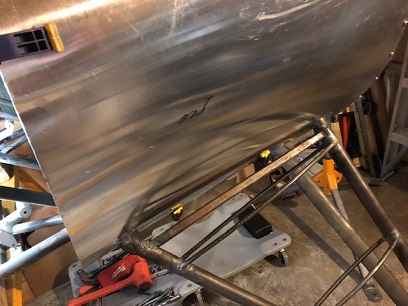
This week's "Excellence" award goes to (drumroll please)... the sheet metal side panels. thankyouverymuch (in their best Elvis impression... the side panels, not mine. Giving life to the side panels!)
First task I had was to lift the fuselage high enough to get the gear on. Needed to do that so that I could fit the side skin up to it, make a pattern, cut the openings out and then re-attached the skin to see if all that work was worth it or not.
First thing... to attach the port landing gear. For some reason the bolts weren't aren't playing nice. It was a battle to get them in. Something is off... the worked great when I made these years ago. Both the front and rear attach points aligned great. Now someone isn't playing nice... not sure if it is the foward or rear attach. Something to be figured out when I flip this beast on its back.
The pattern was made out of a piece of white display board. I made to the shape of the port side skin... then I fitted it up to the port side skin, taping it at the top. This allowed me to lift the bottom edge of the pattern into place once I re-attached the skin to the fuselage. I could then pull the pattern towards the bottom attach points, where the landing gear attachments are, and make my marks, make a fast cut to test it again, and if needed, adjust the cutout.
The process worked great. Transferred the pattern onto the skin. Squared up lines and put a curved to the corners the brought it back up to the garage workshop to test it on the fuselage. And WA LA! Nice fit. I'm thinking it could be a closer fit, a smaller opening, but we'll see when I re-visit it for the next and final panel I make for this skin.
Test fit of pattern.
All the hard work was done on that first side panel. Schooched the fuselage over so that I could attach the starboard side gear, after taking off the port side gear. (Not a whole lot of room in a 1 car garage!) Okay... so I attached the starboad side gear, and it too is a little funky. Not as funky as the port... but something I'll be addressing. Reshaped the patterns to the final hole cutouts I had on the port side skin... Re-created the same process of sizing up the pattern to the gear attach point. Saw where I could make the openings smaller... Put a few pieces of duct tape to close up those area. Transferred the pattern onto the starboard sheet metal... then attached back onto the fuselage and WA LA! A better Perfecto! than the first side.
This past week's work on Big Ass Bird... Looking at the sheet metal last week and you'd think that it was done, ready for me to make that last iteration of them to attach to the fuselage and fly away. Not so... experiencing (present participle) some of that 90 percent done 90 percent to go on these side skins.
okay... we're going to take you back over to the "sheet metal" page to continue discussing the attachment of the sheet metal, or you can continue reading about... the cowling. Back to the aluminum skins...
April 1 and 2, 2022
Inching...
around the workshop.
A two-man operation performed by one man. As always... I take it upon myself to do things on my own... not to bother someone else with a task such as moving the fuselage around in the garage. Thus! it takes a WHOLE lot more time... instead of minutes, it's hours.
With that said, I repositioned the fuselage so that I could (hopefully) attach both main gear with the wheels on it at the same time. And once the wheels are on, I can then hang that 300hp Jake!
Inching the sawhorses around and back... along with pushing the fuselage back by sliding them on those sawhorses... I sloooooowly moved the fuselage towards the back wall in the garage. Surveying the situation after the move... I think I've accomplished that goal!
With the fuselage moved, I decided to do a little Zen cleaning... clean the space to allow new ideas and new thoughts to enter the space. I spent a day of mindfulness cleaning both the basement and garage workshops.
New temporary resting place.
Business-end of BIG ASS BIRD.
April 3 - 9, 2022
The BIG... PUSH!.
Still getting things settled in to start working on the cowling... which mean getting on these wheels and brakes. The BIG PUSH mentioned above... a push figuratively and literally.
Ordered up the hardware I THOUGHT I needed to complete the job, only to find out a few 1/4inch x 3/8inch grip length bolts should have been ordered... along with wheel bearing grease, nuts and cotter pins for the axles, and a few more blah blah blahs.
Back to ordering... AFTER I figure out what type of grease to buy for the a bearings. Asked the group on the biplane forum and received some responses. Also sent a letter to George, the owner of MATCO (great guy!). Waiting for his response as well.
I'm to the point in my wheel and brake research that I've taken one of the wheels/brakes partially apart and slid some of that "apart" onto the starboard axel. All lines up... just need those 1/4inch bolts!
While waiting on the order (still to be placed) I attached the gear back on so that I could then re-attach the firewall. With the firewall attached, I re-attached the lower side panels and took a few beauty shots of BIG ASS BIRD. Looking good...
When re-attaching the gear, I had no problem getting the bolts in this time. A few taps with the mallet and both the 3/8inch and 7/16inch bolts slid right into place.
Photos show where I stand at this point in time.
Purty...
7/16inch bolt... tapped into place
Getting the brakes and wheels on...
April 11 - 16, 2022
Moments...
like these.
The more bits and pieces that I attached to the biplane's fuselage, the more real it seems to be.
Years of building parts, only to set them to the side (and hopefully finding them again when needed)... for another day. You work work and work and all you see is a larger "pile" of parts. Sure, you attach them by match-drilling them. But then you take them off so that you don't damage them while working on other parts of the biplane.
There are AH-HA moments all along the journey. But when those AH-HA moments come from the culmination of many of those parts and pieces being attached in ordered to take the next step... I'm at one of those moments now.
Attached, the brakes and wheels so that I can hang that BIG ASS RADIAL. Attaching, and making sure the sheet metal skins are just right... so that I can begin fabricating the engine cowling. Wow. WOW!
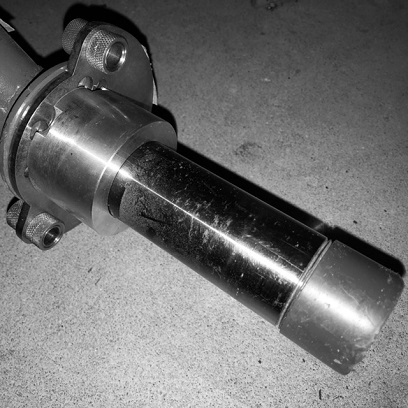
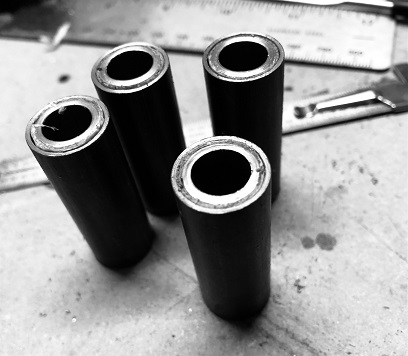
Of the many things I've ordered from Aircraft Spruce overthe last week (two orders, with two over-priced shipping charges) I forgot to order the stock for the bushings for the rubber mounts for the engine. I need 5/8inch stock that has a wall thickness that will allow a 3/8inch both. I refuse to pay $20.00 to ship a foot of tubing. So... Jerry needs to look for some existing tubing stock that will work. Found a piece of 5/8inch stock with a wall thickness thicker than I need. Figured I'd ream it out. After working on it for about 1/2 hour and only making 1/4inch progress I decided that reaming this tubing wasn't the best use of my time. Time to find another piece of 5/8inch tubing.
To make a long story short, I found a few pieces of 5/8inch tubing with a thinner wall. Found a piece of 1/2inch tubing with the correct wall to allow a 3/8inch bolt to nicely slide into it. So... I'll use these double-bushings for now to hang the engine to allow me to continue moving forward with hanging the engine. I'll order the correct 5/8inch tubing on my next "group" order to Aircraft Spruce (to help spread that larger shipping charge).
The double-bushings have all be lathed to the correct length and are ready to duty! I should have the last shipment from Aircraft Spruce on Monday that will allow me to attach the brakes to the landing gear which will allow me to attach the wheeels.
Just... about there...
By the way, I decided to use Mobil 28 Aviation grease for the wheel bearings. A lof of the guys on the forum suggested it, and George at MATCO pointed me to a page in the instructions that were sent with the wheels that lists several greases to use and Mobil 28 was one of them.