Mantua, New Jersey
Original Site:
September 2004
E-mail: usav8or@yahoo.com
The Radical Radial Throttle Quadrants.
October 17, 2015 Finished ?
Finished !
Continued working on the throttle quads. Figured I'd work on these until I complete the job; both front and back quad mounts.
Cut a few "spacer" patterns for the spacing of the upper and lower tubes. It's the simple things that sometimes work best. Two hours of cutting and notching and fitting and...
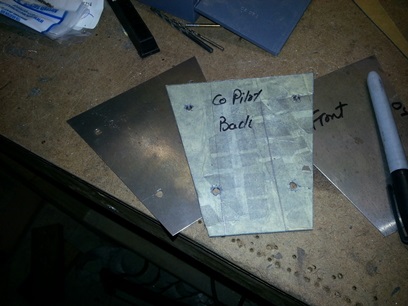
Co-pilot's quad mount.
Pilot's quad mount.
October 18, 2015:
Update:
A picture tells a thousand words...
but not everything we're thinking.
I'm thinking just now... that there is a WHOLE lot of other stuff going on with this one small project than appears here in writing. There is the constant battle (and yeah, it's a battle and a battle I don't always win the first time out) about how to approach it. What steps do I need to take in order to complete it the right way and to the best of my ability given all that I know and have read/studied up about it.
For instance:
With everything set into place like you see above I still need to tack and weld these in place so that the throttle quads will mount on there properly. What steps do I need to take to get this done properly and done the first time out of the gate? It's a constant process of thinking and re-thinking.
Plans are:
1. Postion and match drill the upper holes for the throttle quad plates. (Thinking I'll be welding in bushings and not sure if I'll drill the holes for bushings now or after welding on fuselage.)
2. Cut and tack a 3 5/8inch plate similar to the paper you see above. This will keep them in position when tacking and welding onto the fuselage.
3. Weld tubes into place.
4. Position quad plate in place and match-drill lower holes.
5. Done
Yeah... a lot more thinking goes into this than what I show in photos and write down on paper.
October 18, 2015:
Later that day:
And sometimes...
it's a work in progress.
With all that thinking... it's all good.
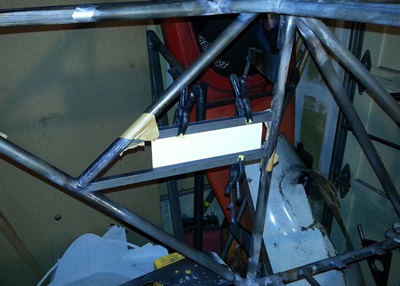
Today... double checking the fit of the tubes for the throttle quad mounts. Thinking... there isn't a lot of room for me to weld bushings into the two 5/8inch tubes and I don't just want to drill holes in the tube (the inside will be exposed to the outside elements.) Thought... why not open up the spacing of the upper and lower tubes and weld on a piece of 4130 plate with the holes already match-drilled; the holes will fall in between the two tubes. Then it'll just be a matter of welding on the 4130 plate and bolting on the quad.
A better plan, but more hours on the build.
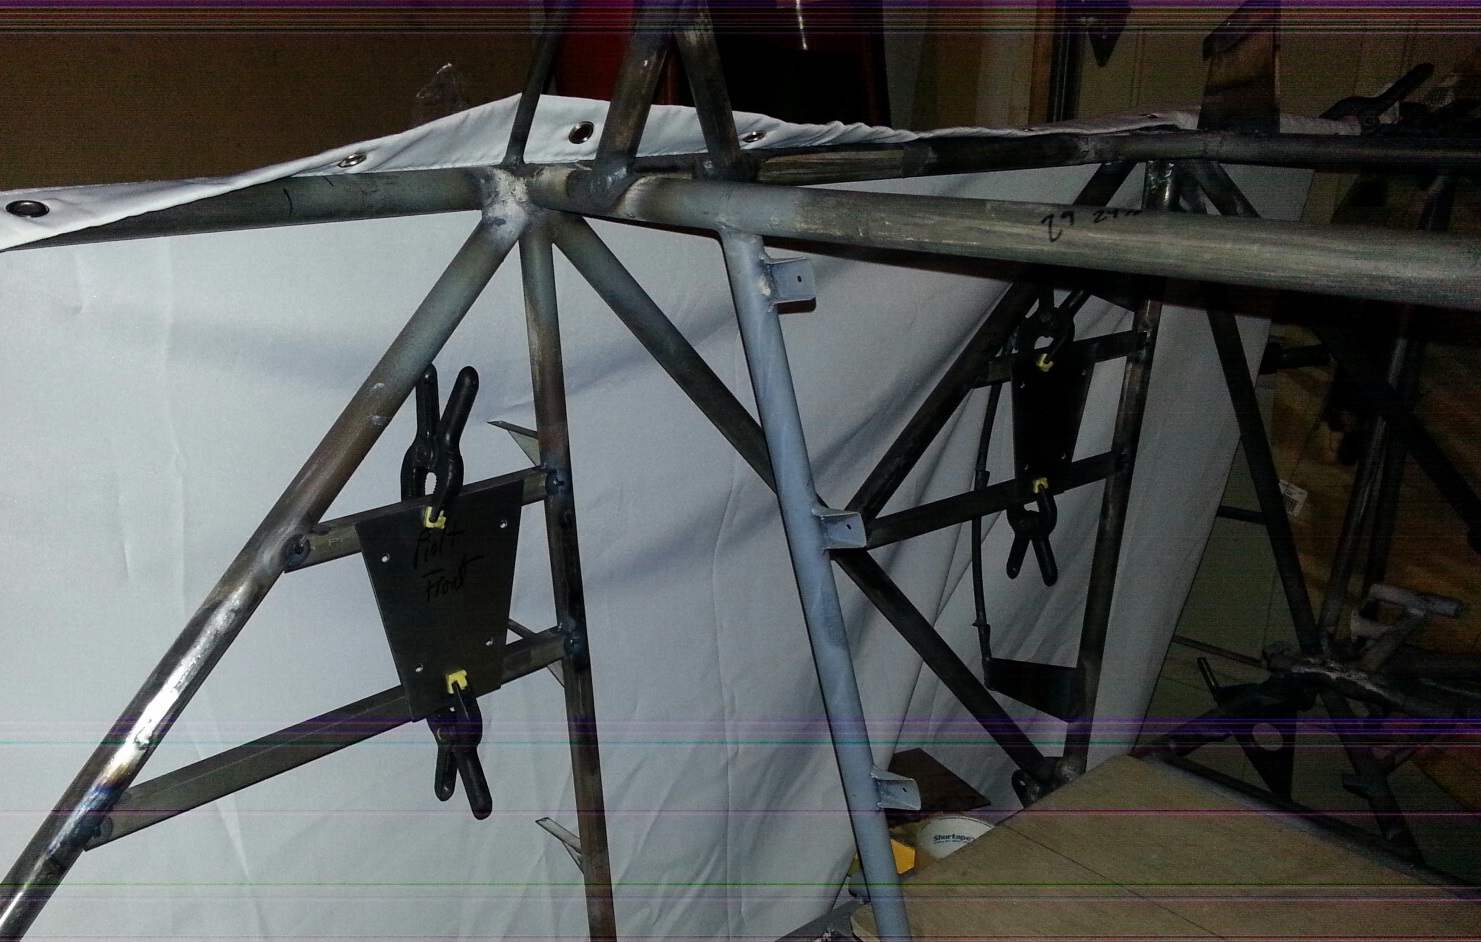
New spacing front pit.
New spacing back pit.
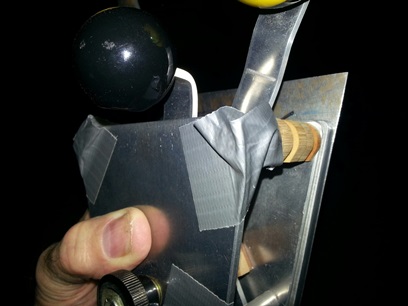
4130 "jig" for spacing and keeping things squared.
Still need to tack and weld this on and then on to the front pit's mounting tubes.
October 19, 2015:
Moving forward...
somewhat...
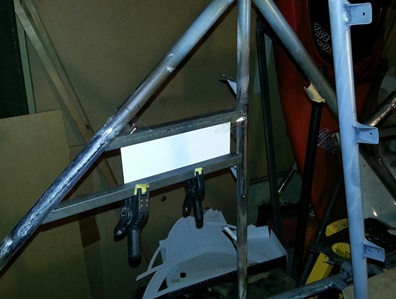
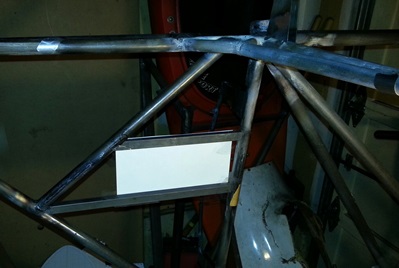
Started the night double checking the position of the throttle quad mounting tubes. Looked good so I went ahead and tacked them into place.
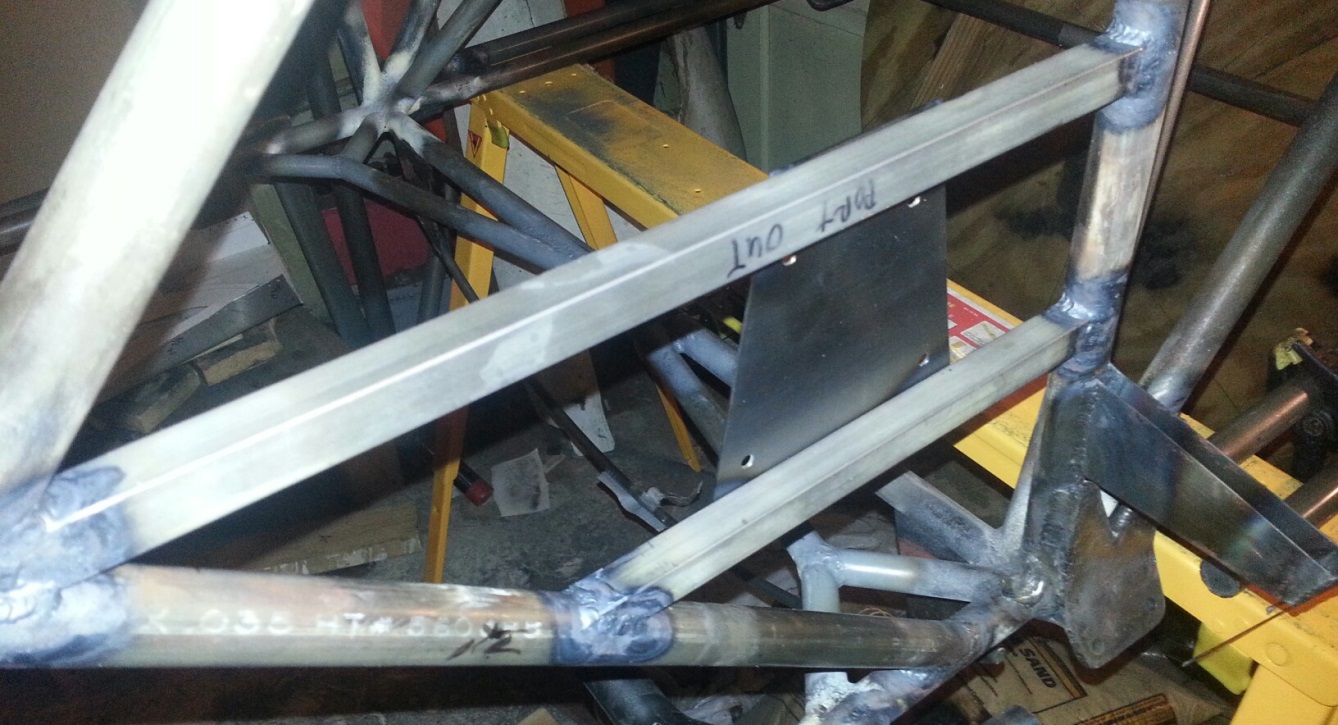
Before welding these up for good... I wanted to make sure the entire project works as planned which means I need to cut out the mounting plates, match-drill the aluminum quad plates with the mounting plates and then tack the mounting place in place.
Marked, measured, cut, filed and sand smooth a piece of .o40 4130. Clamped the piece on the drill press... made sure that things were lined up and took my time drilling that first hole. Unclamped it. Took a look at it... and saw an oblong hole. What the hell ???
Tried it again, making sure it was well clamped on both sides. Made sure the drill bit was centered in the chuck. Made sure that the bit was square to the piece. All checked out okay. Drilled the second hole... third hole... forth hole. All the same... an oblong hole. What ain't I getting here ? What am I missing ?
Made sure to use a centering bit so that the drill bit wouldn't wander and still the same thing... an oblong hole.
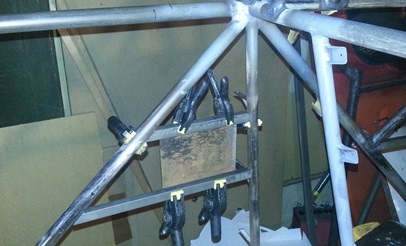
Said what the hell and figured I'd see if this piece fit up to the mounting tube and take some time to sit and think about this issue. Took it out to the fuselage in the garage workshop and, other than the oblong holes, looks great !
October 20, 2015:
Update:
I think I might have an easy solution to NOT making oblong... Use a Unibit. I think... Hell, I don't know what to think. Very strange that it's doing this. BUT, I think I have a solution to get moving on with this.
October 20, 2015:
uhhhhh...
nothing witty to say in this space...
Just to be safe, I test drilled a piece of .o40 4130 to see what the outcome would be. And... it be good.
Traced the mounting plate pattern twice and started cutting. Cut both out. Match-drilled the holes in the first one (what a pain in the ass it was). Made them a little over-sized so that it would be easy to mount the throttle quads. I plan on riveting on a few anchor nuts for easy installation of the throttles.
Tomorrow I'll match-drill the second plate then tack to the mounting plate tubes.
October 21, 2015:
Still not happy...
until now.
The size of the plates I cut out yesterday... well, what can I say ??? Now looking at them... they're look too narrow to me... once I drilled the holes in the first plate and took a look at it... they're too close to the edge of the plate. Cut the holes over-sized to rivet on anchor nuts... that didn't help things.
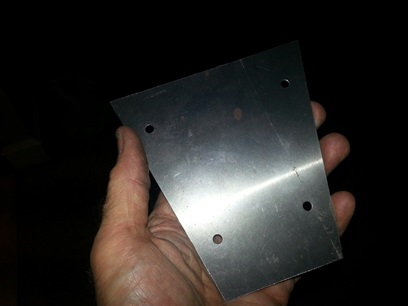
Today I was thinking about it and decided that I'd cut these out of a little bit thicker material so that I could easily counter sink for the rivet heads.
Tonight I picked up a piece of .o50 4130 material added 1/8inch on either side of it... cut, filed sanded and drilled. Holes were drilled with a regular bit this time and it worked out great; nice and round. Alignment of the holes worked out too... no need to rivet on anchor nuts.
Backing plate looks good. Holes look good. All I need to do is make another one tomorrow... tack then finish weld them on the fuselage then weld up those tubes.
October 22, 2015:
Staying happy...
Spent tonight making the second plate like the first final one...
Just a matter of putting time behind me to make this one. Used the first one as a pattern for tracing and for match-drilling. They're ready for welding on the fuselage now.
October 24, 2015:
I can see the light...
but it's still a ways off.
Get these tubes welded onto the fueselage and I can get moving onto something else.
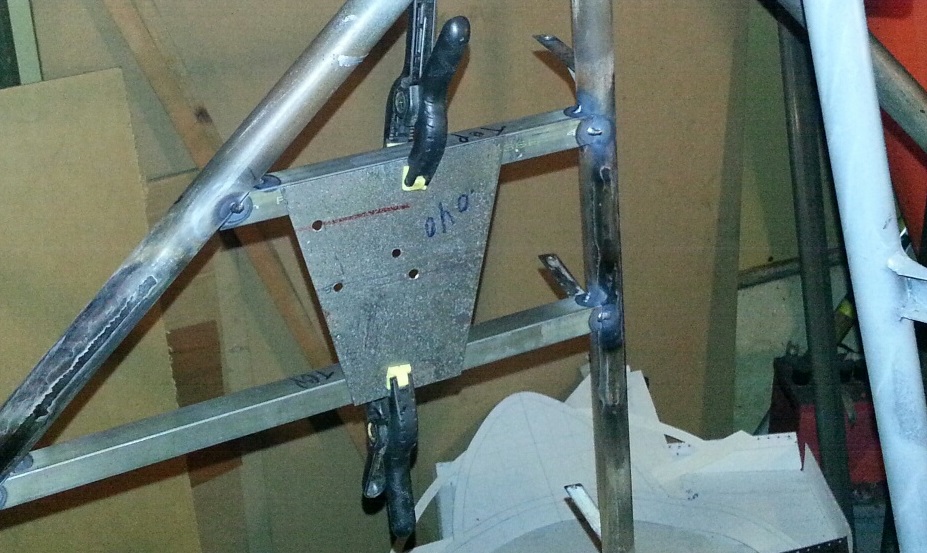
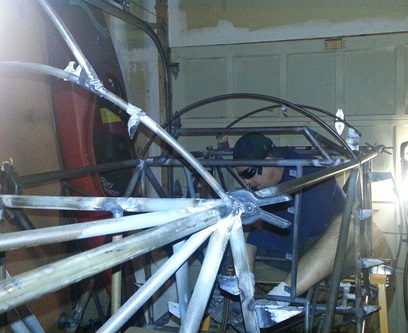
It's Saturday... after doing work around the house I started working on the biplane project. Mounting plates are made so all I had to do is get them welded onto the fuselage. A lot of flipping of the fuselage (reminds me that I need to get the rotisseri back out) to get the right angles on the weld lines. (if you don't have the right angle and your hands support... lines won't be pretty)
A little over three hours of running weld puddles and I'm close to being finished. Another hour to go and I can move onto the next small project. I'm saying that as if...
(click on above image for larger view)
October 25, 2015:
I can see the light...
wait.. that's the torch.
Let me get these things done !
Spent this morning welding up the rest of the tubes for the throttle quad mounts then welded the plates onto the tubes. Flippin' and floppin' the fuselage again. Wished that fuselage rotisserie was put together. It'd be a whole lot quicker flipping the fuselage. But then again... I'm climbing on it to get a good angle for welding... so maybe not such a good idea.
Here are a few shots from today...
The things you have to do to get a good angle on the weld.
Flip Flop
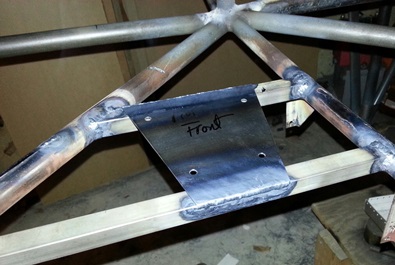
All done. Last plate cooling off.
October 26, 2015:
Another decision...
weld the front edges.
Wasn't going to but decided otherwise. Ran welds along the front overhangs on both mounts; total of eight weld lines. Nuff said.
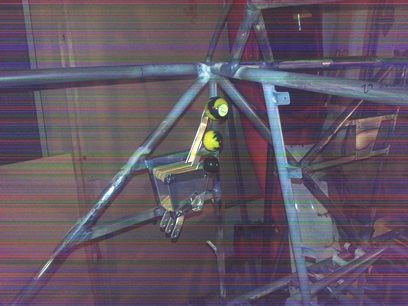
Bad bad shot... best I could do with the phone camera right now.
These quads... turning out to be more than planned... (next page)